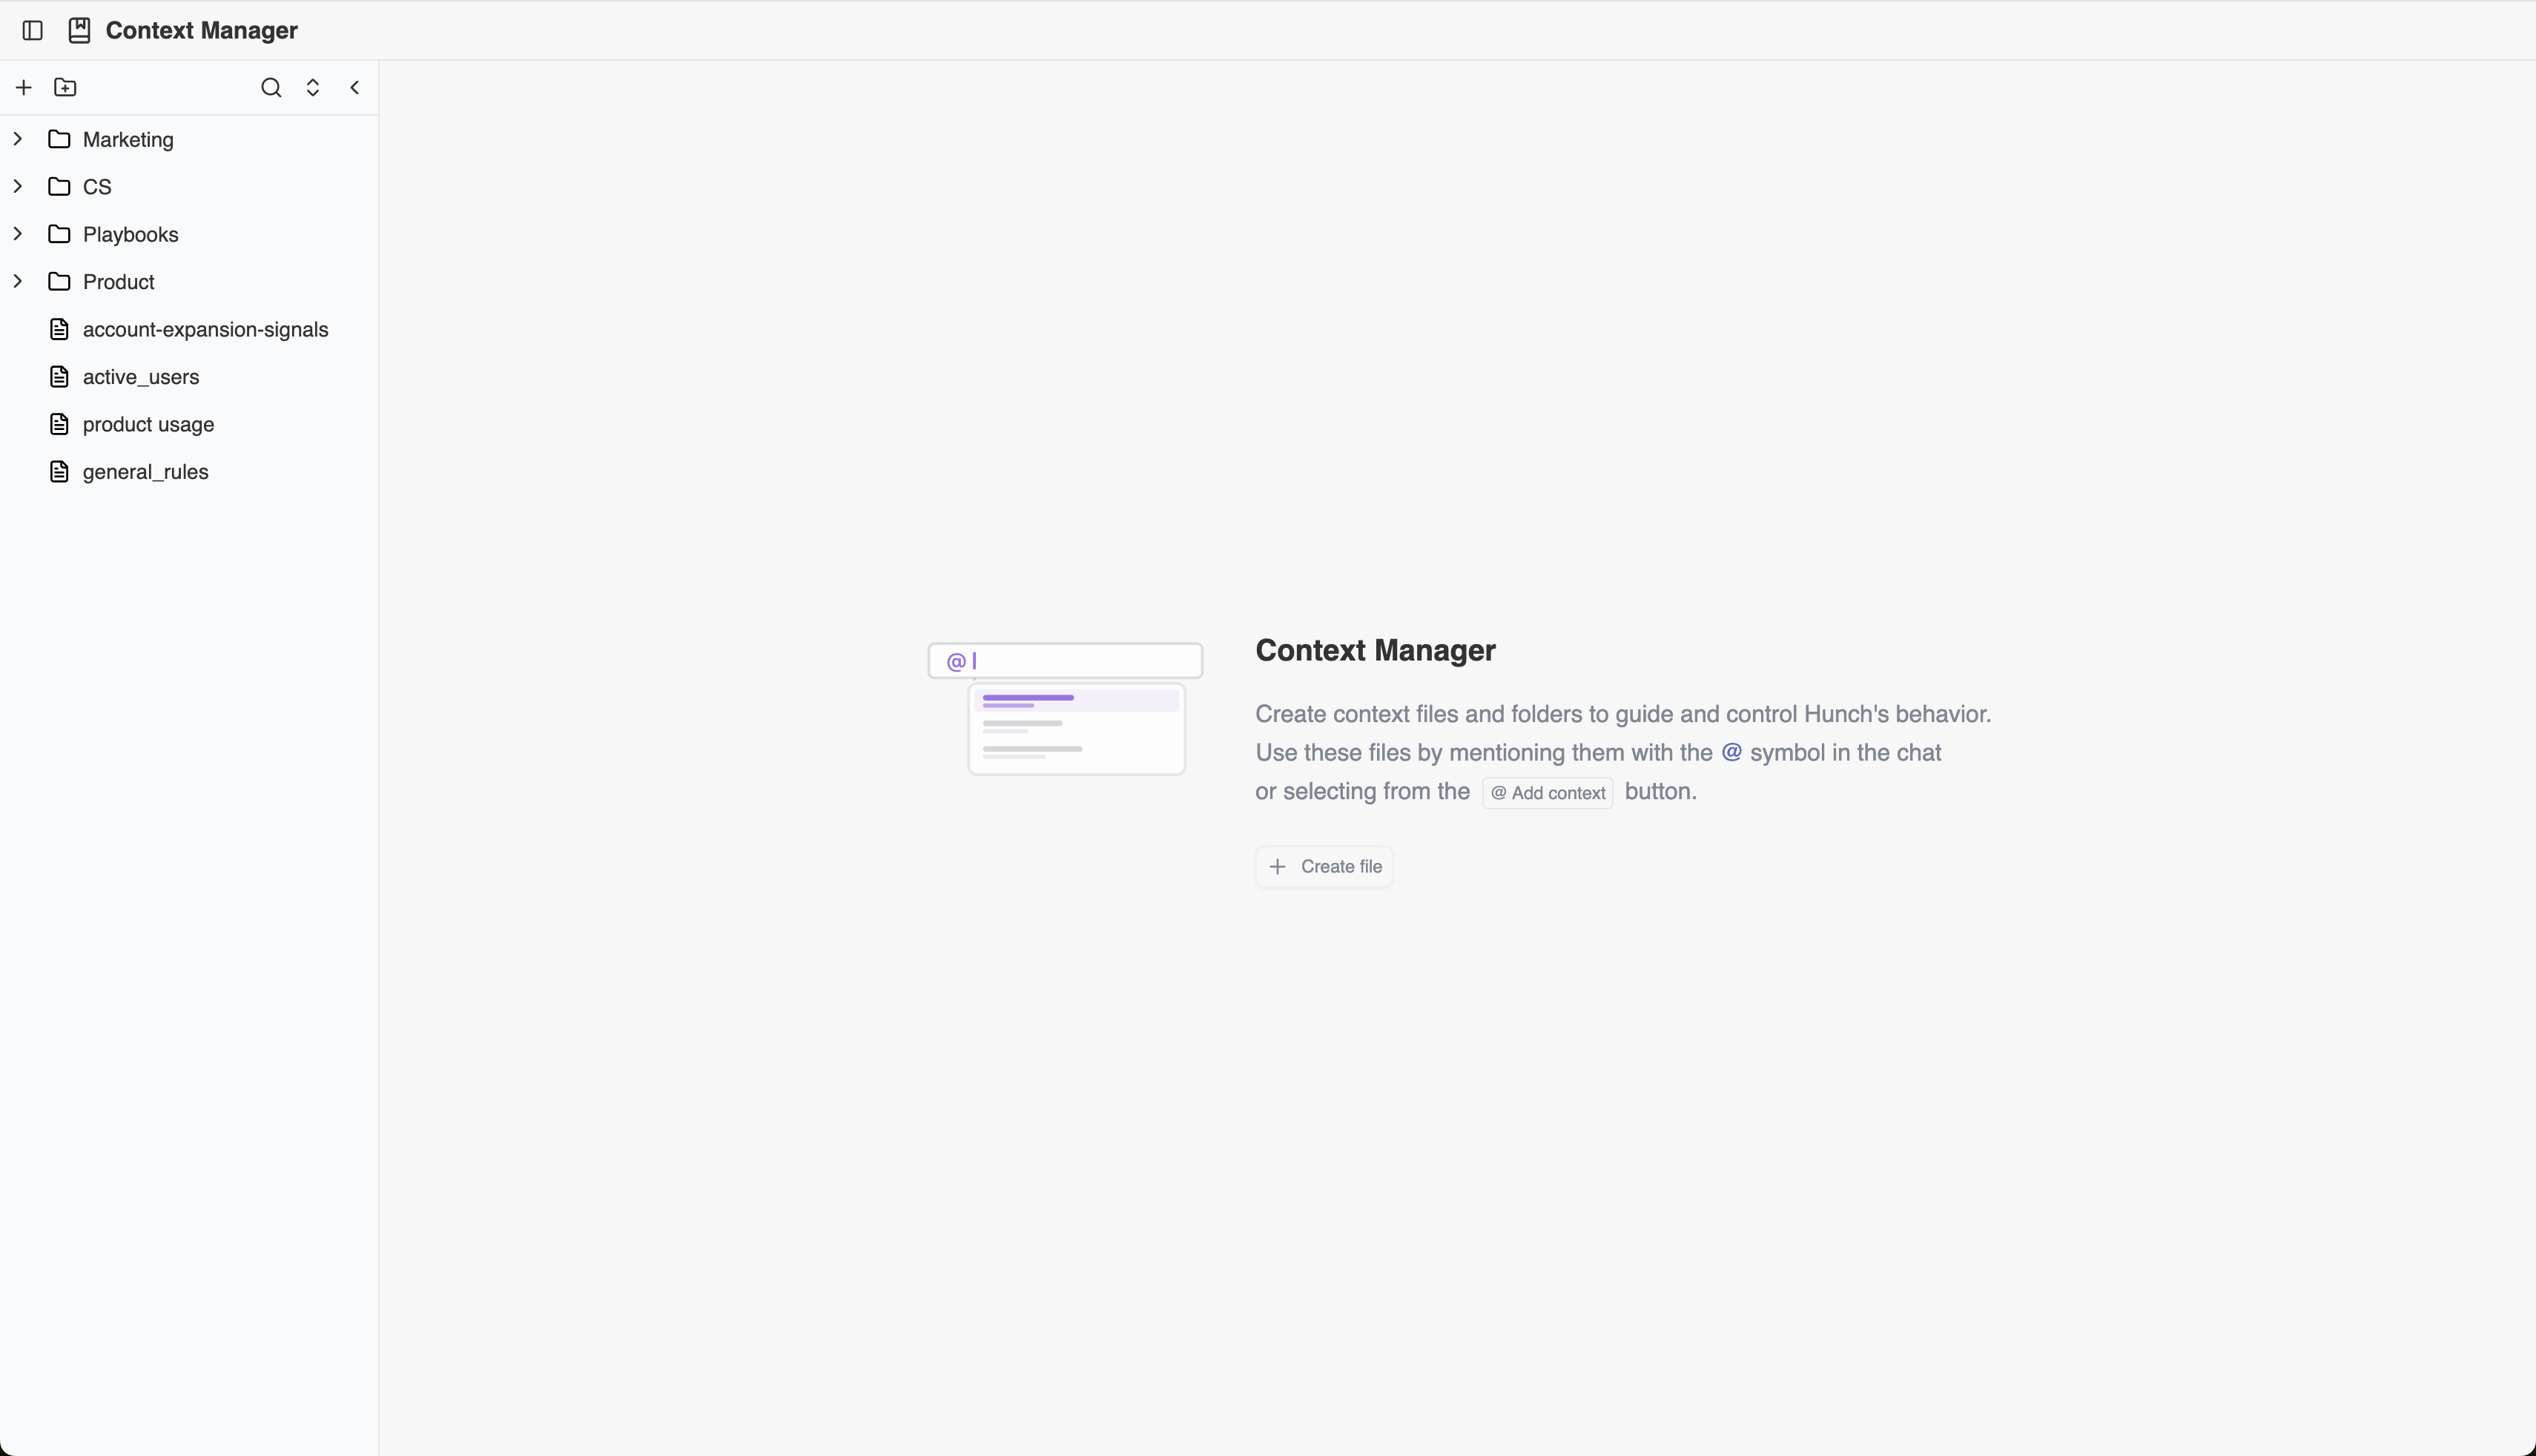
Create context files and folders to guide and control Hunch’s behavior. Use these files by mentioning them with the @ symbol in the chat, or selecting from the “Add context” button.Documentation Index
Fetch the complete documentation index at: https://docs.hunch.dev/llms.txt
Use this file to discover all available pages before exploring further.
What are Context Files?
Each context file contains a free text editor where you can write down information about your data sources, tables, product features, business specifications, and anything else you think is relevant for Hunch to accurately answer your questions.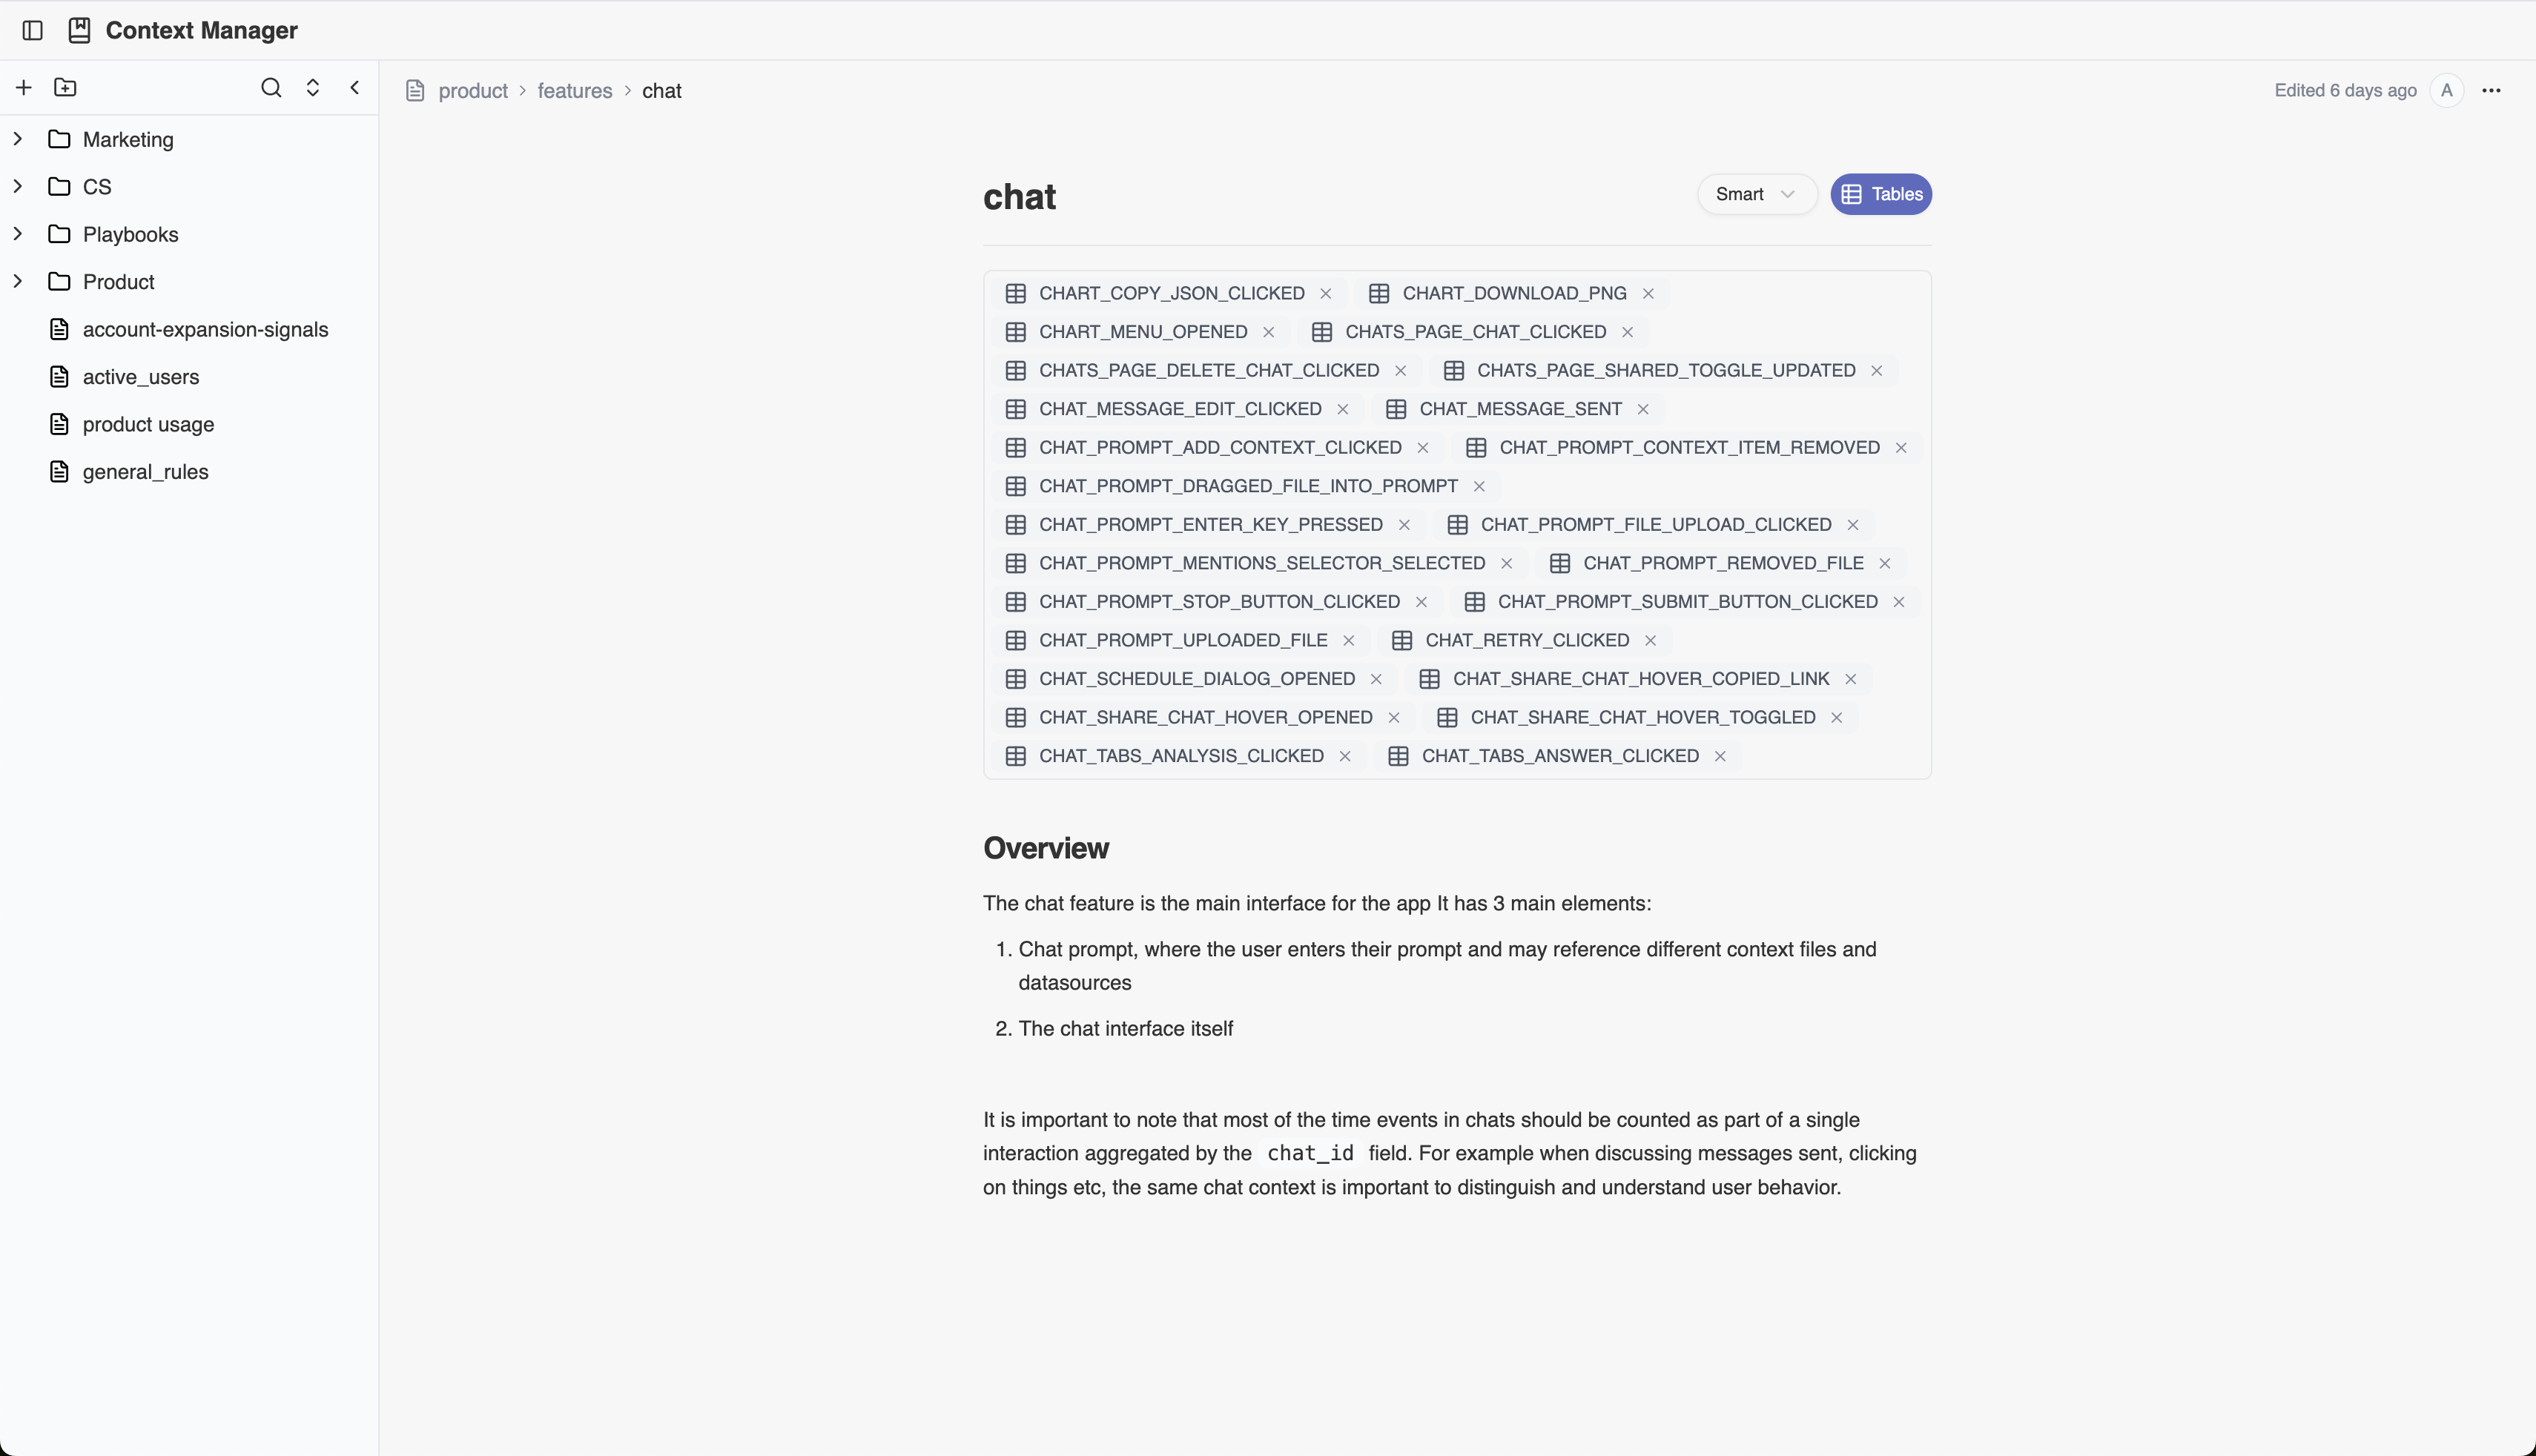
How to Tag Context Files in Chat
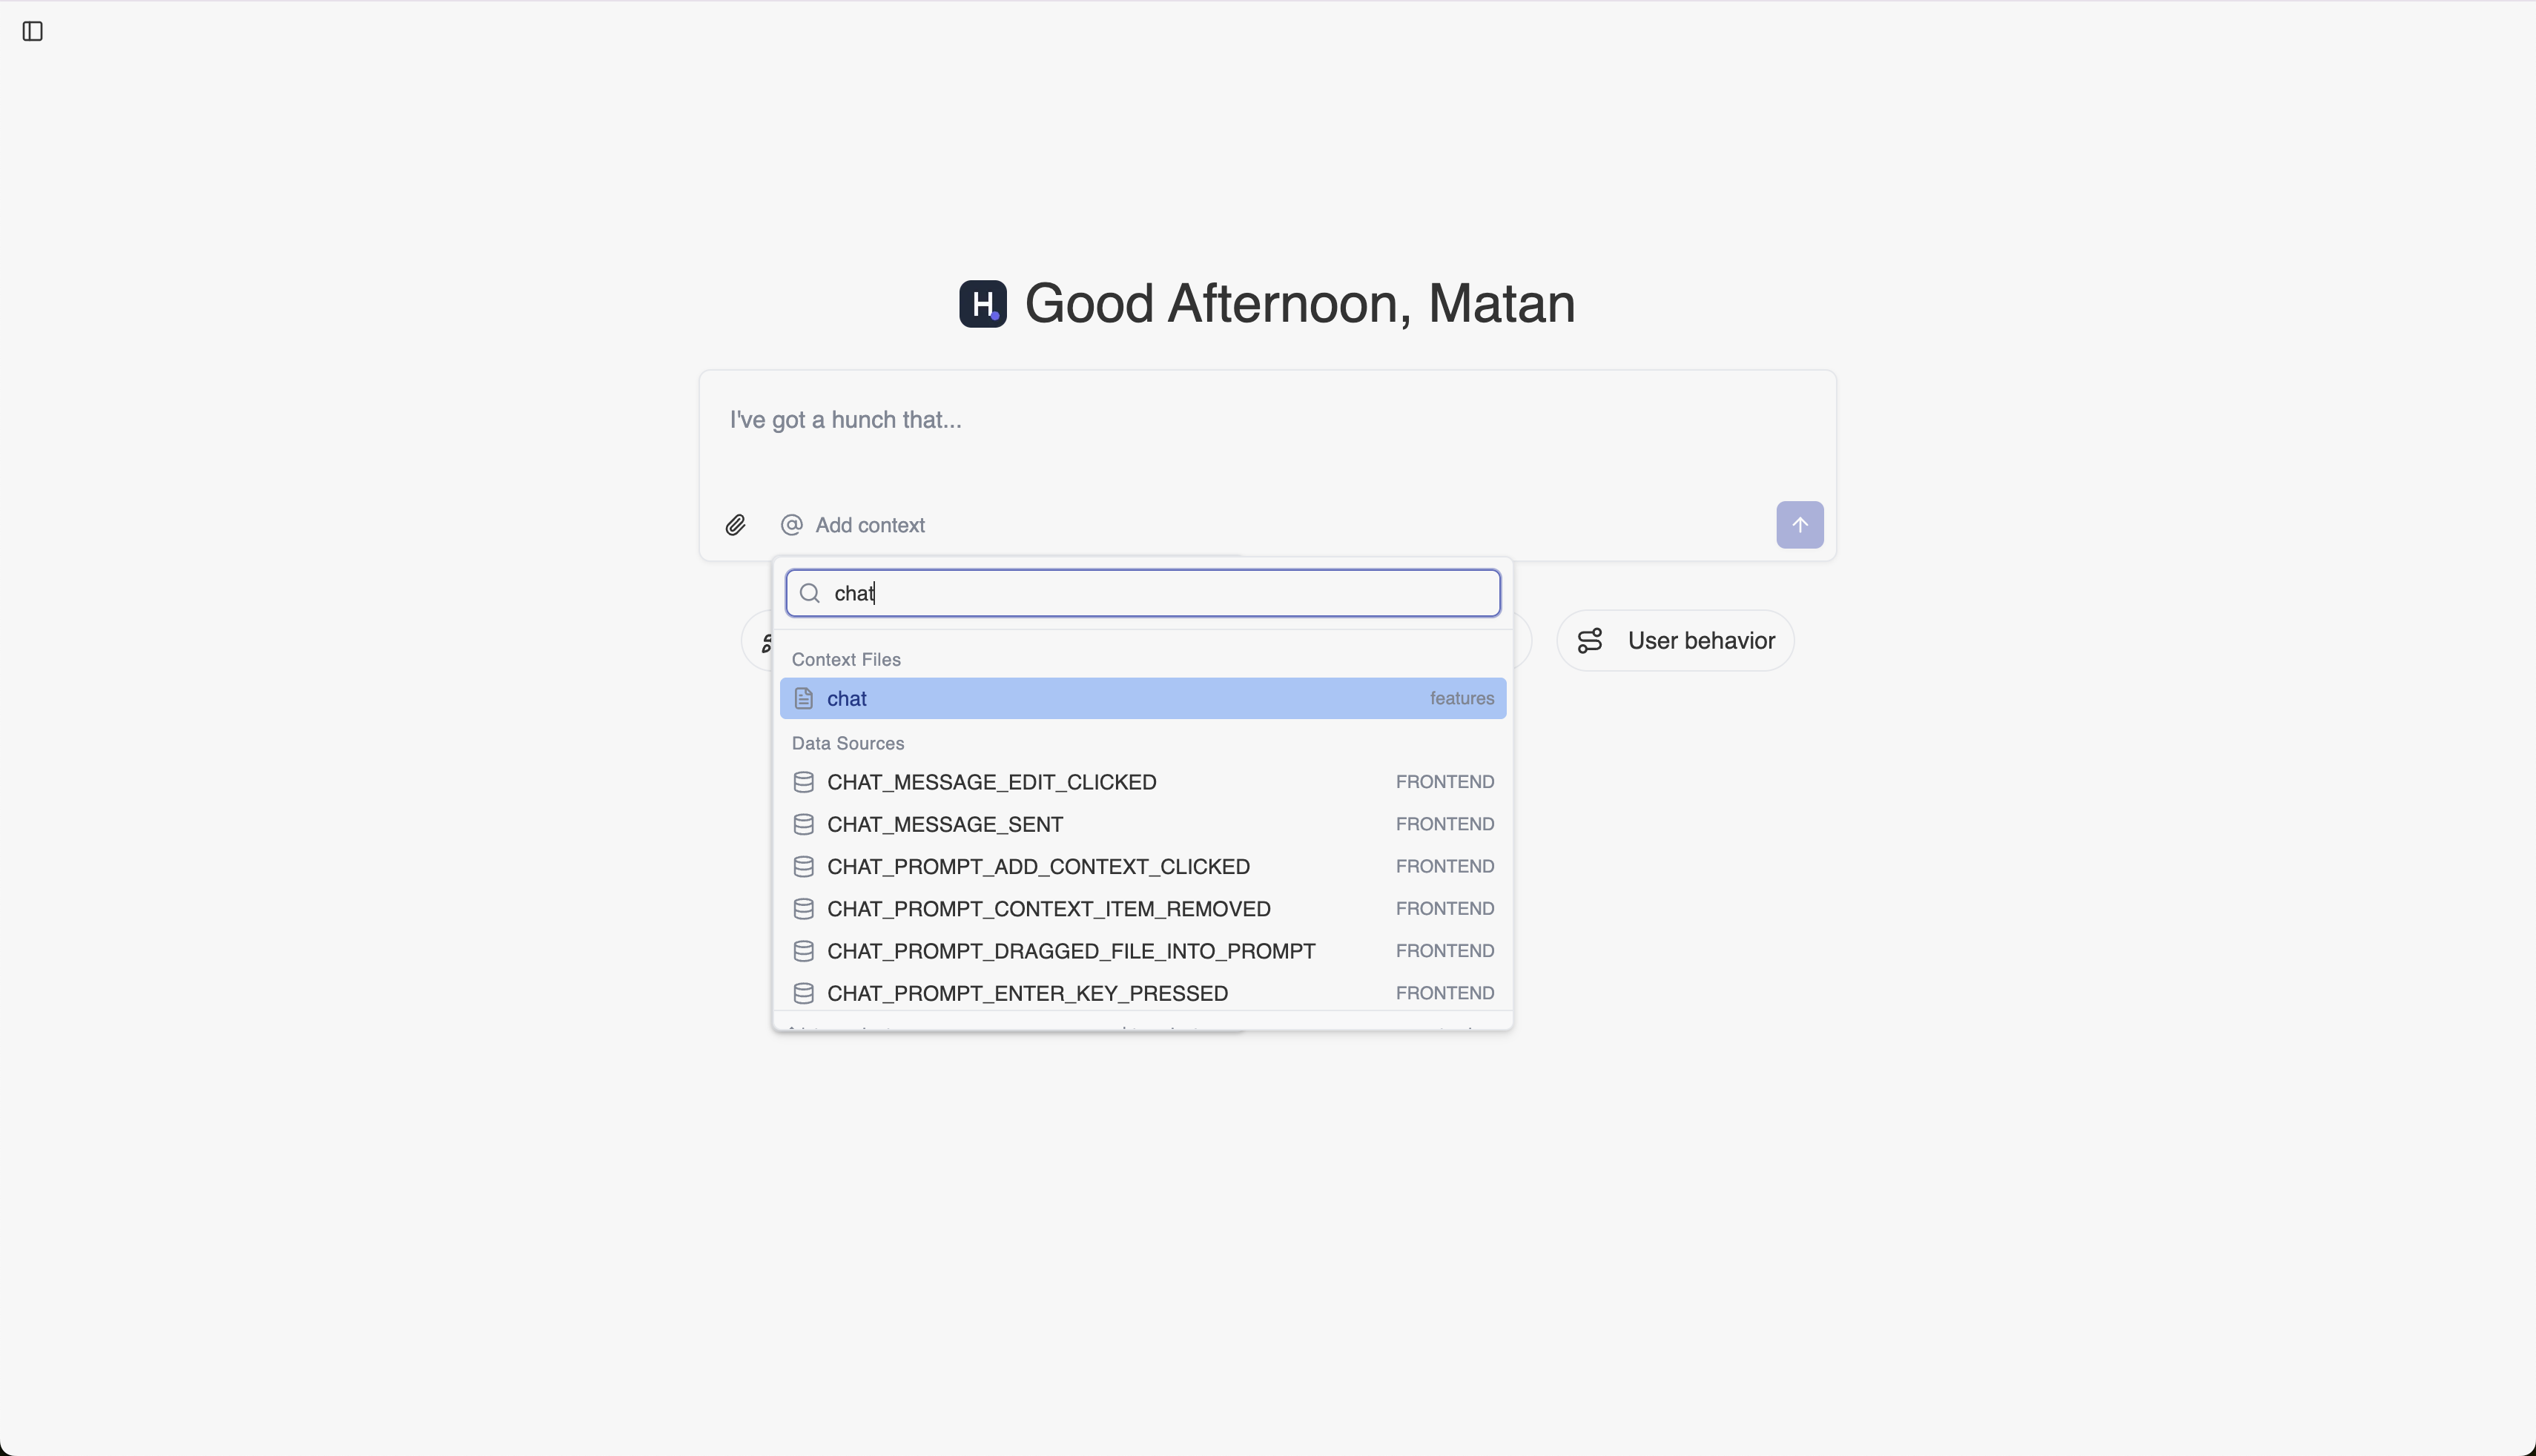
Once you’ve created context files, you can reference them in two ways:- @ Symbol: Type @ in the chat and select the context file you want to include
- Add Context Button: Click the “Add context” button and select from your available context files
Organizing Your Context
We recommend structuring your context by domains. Create directories for marketing, product, sales, or by areas of your product such as billing, onboarding, or main features.Context File Modes
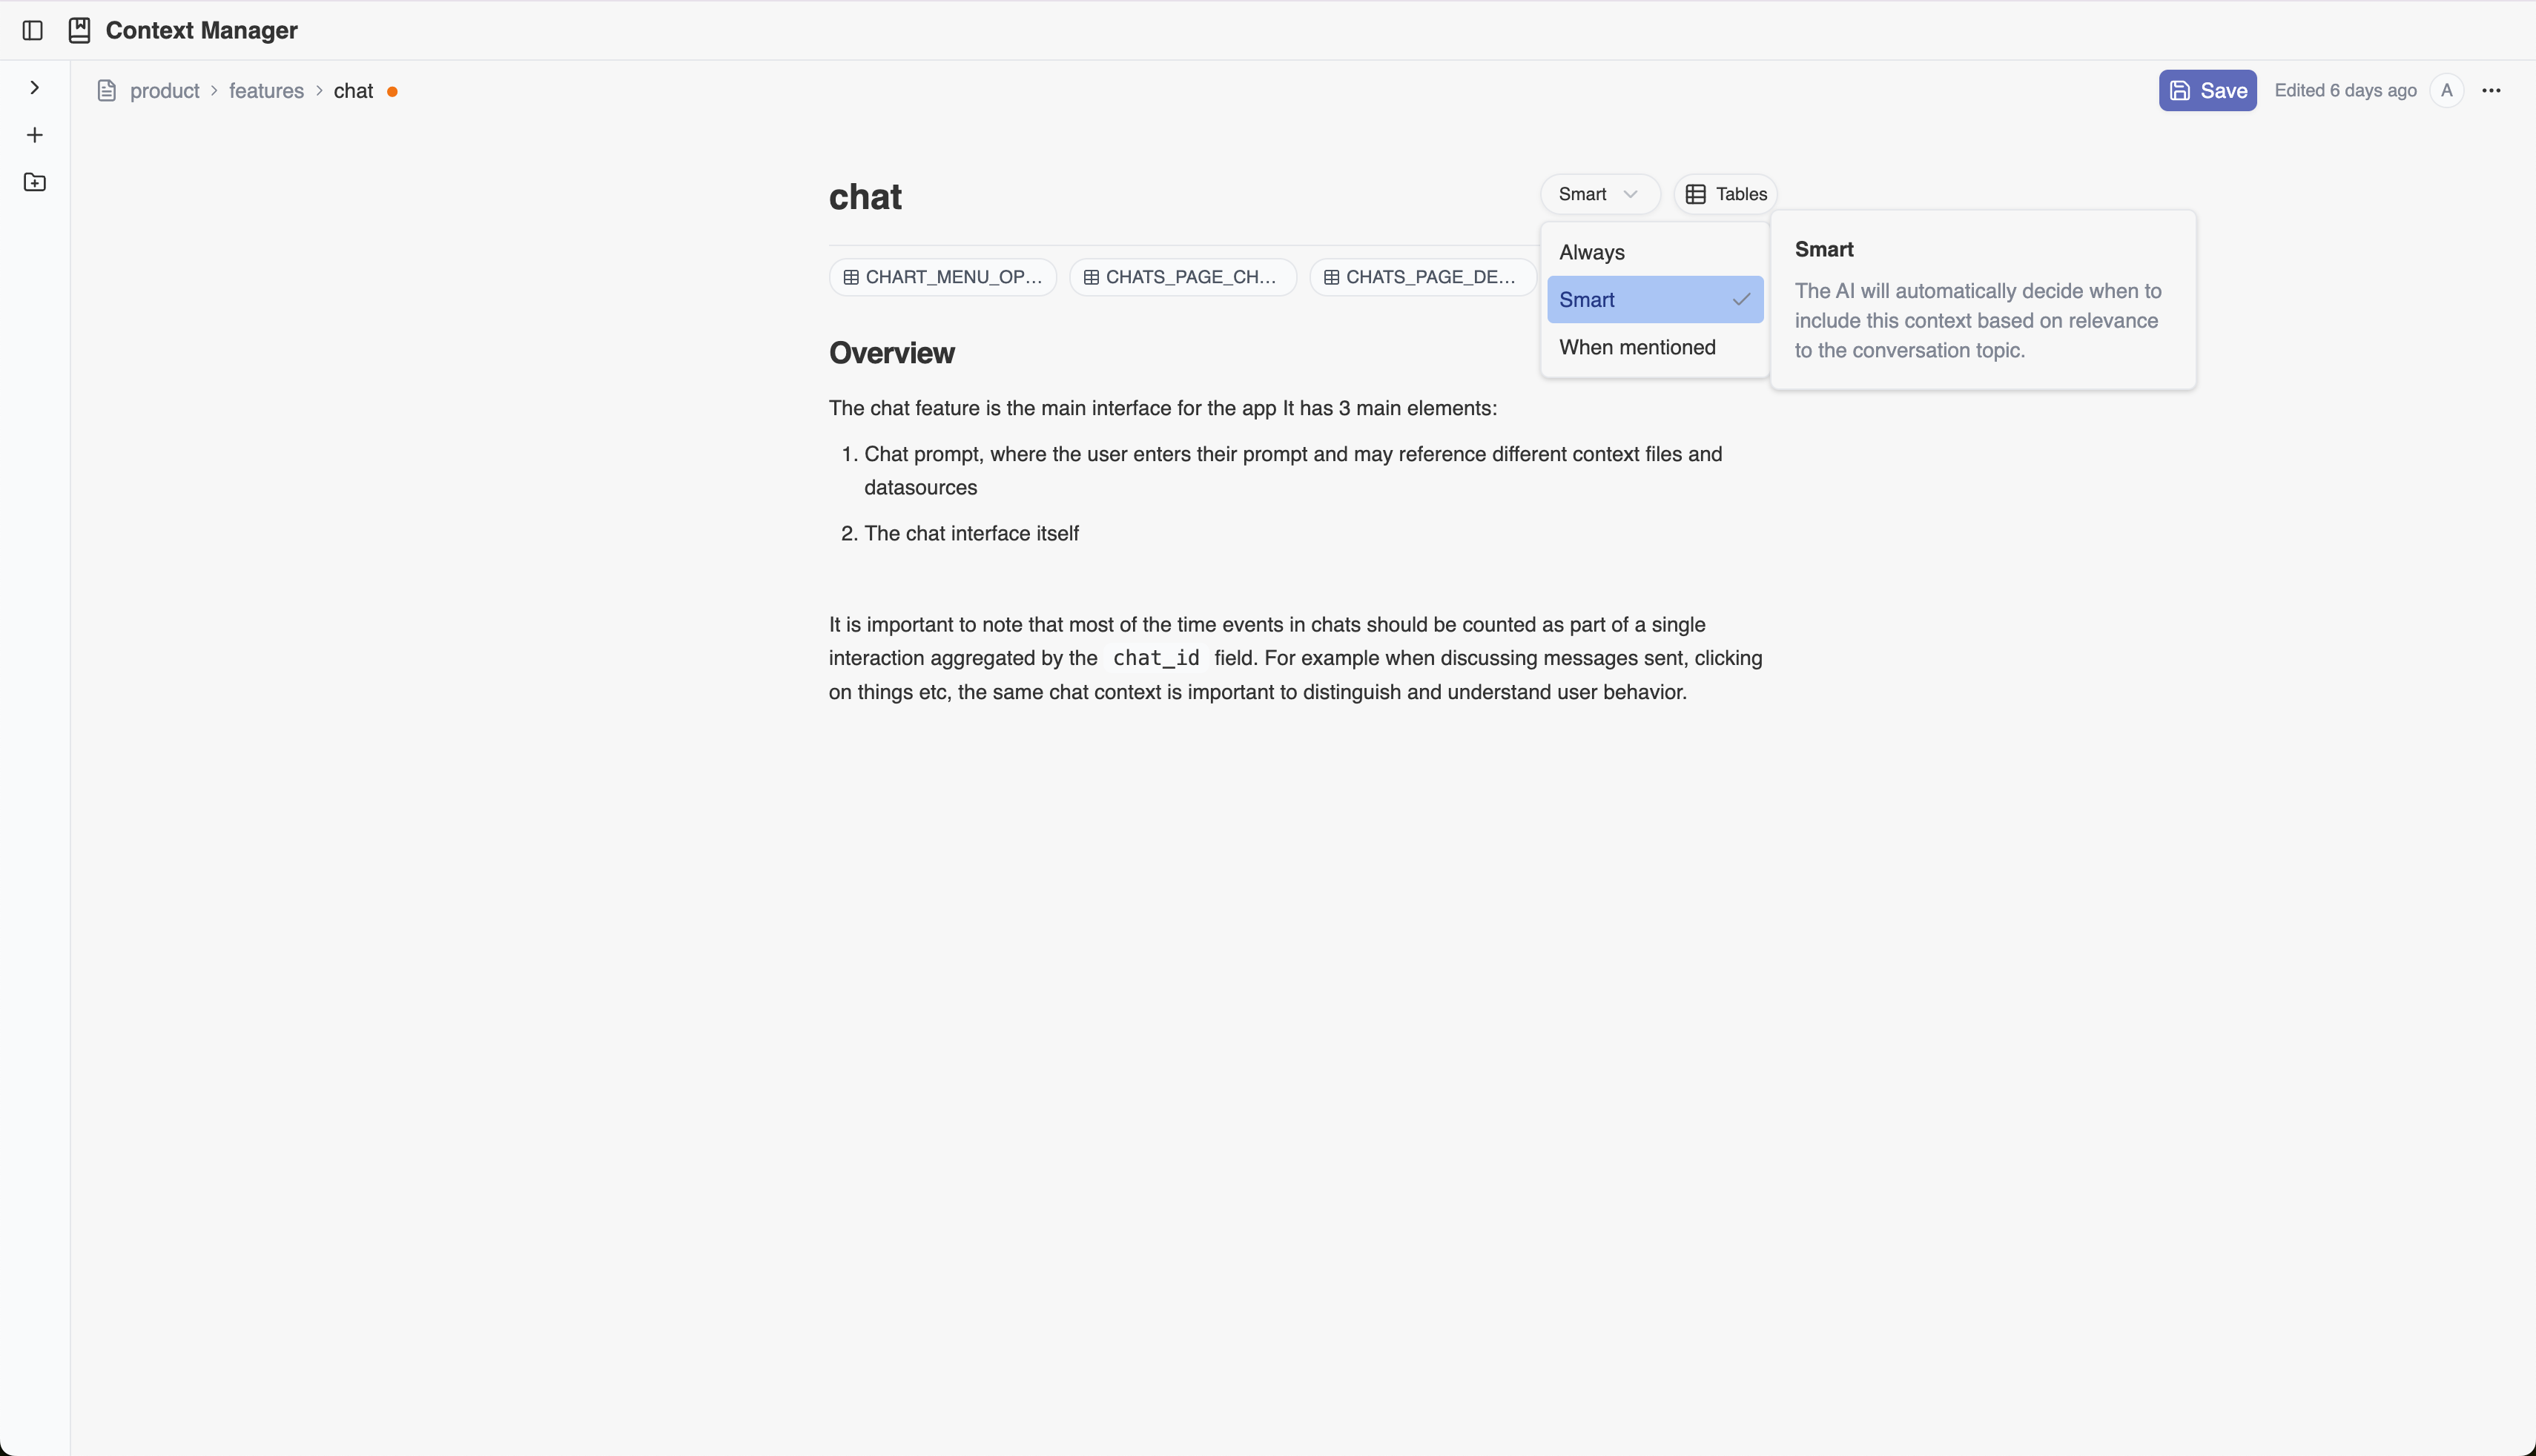
Each context file has three modes that control when Hunch uses the information:- Always - For every question, Hunch will take the content into account while providing the answer
- Smart - Hunch will dynamically analyze if the file content is relevant for the user’s question
- When mentioned - Hunch will take the content into account only if the user explicitly mentions the file using the @ symbol or “Add context” button during the chat