This guide will help you connect your Amazon Redshift database to Hunch in just a few minutes.Documentation Index
Fetch the complete documentation index at: https://docs.hunch.dev/llms.txt
Use this file to discover all available pages before exploring further.
✅ What You’ll Need
- AWS Account with access to Amazon Redshift
- Permissions to create users and grant permissions in your Redshift database
- Access to Redshift Query Editor or your preferred SQL editor
1️⃣ Create a Read-Only User in Redshift
First, let’s create a dedicated read-only user for Hunch in your Redshift database:Step 1: Access AWS Console
- Log in to the AWS Console with a user that has sufficient permissions to run Redshift queries and manage database users
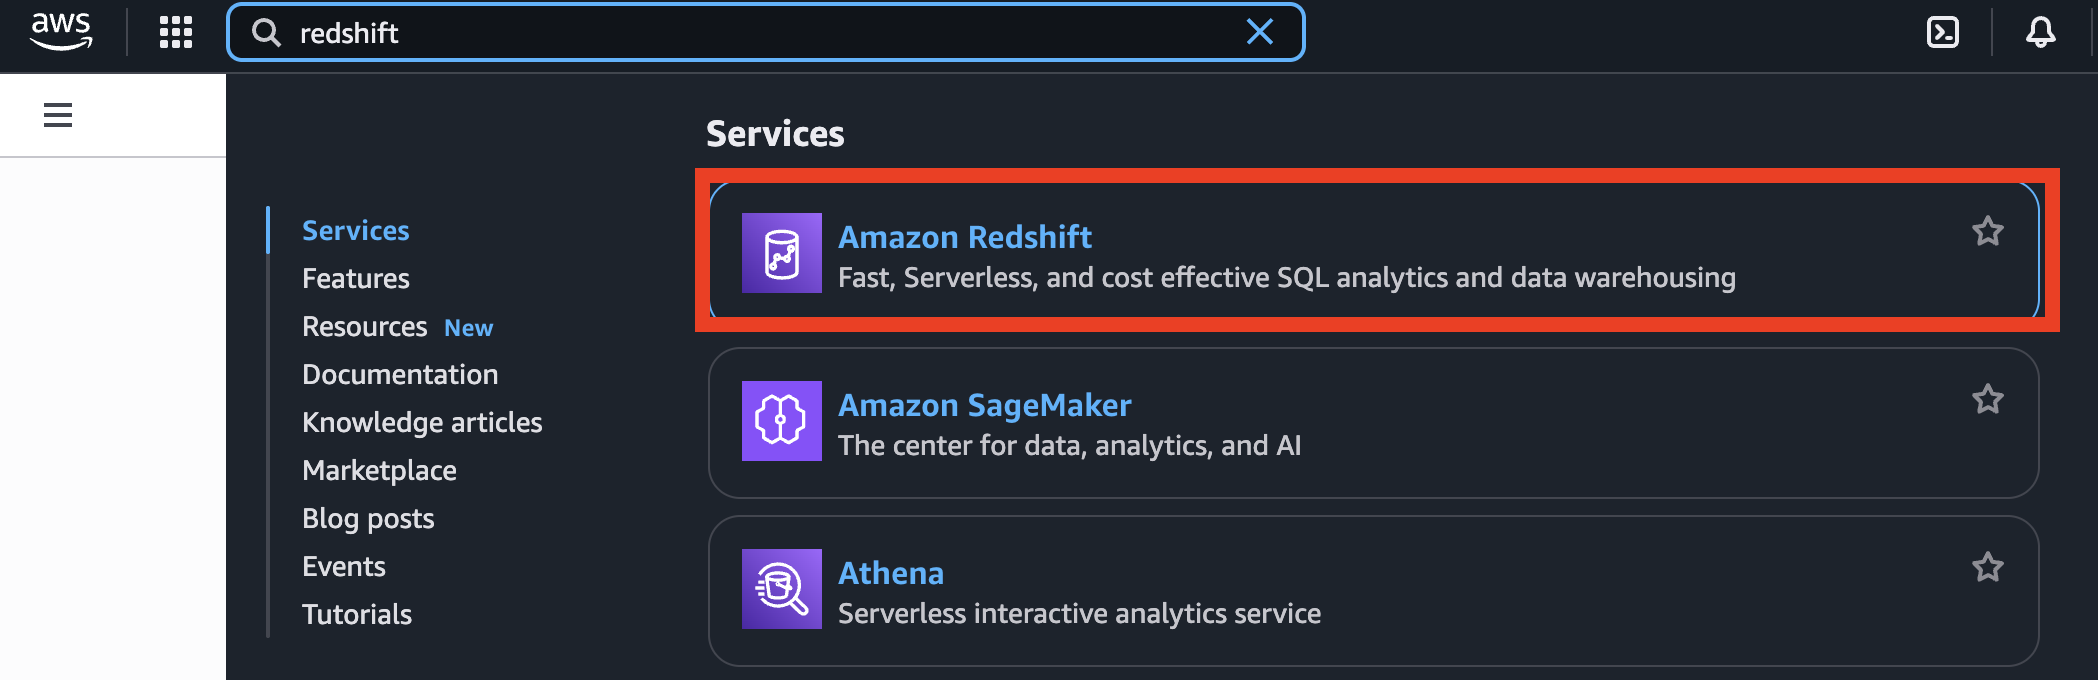
- In the search bar, type “redshift” and select Amazon Redshift
- Navigate to Namespaces and click on your desired namespace
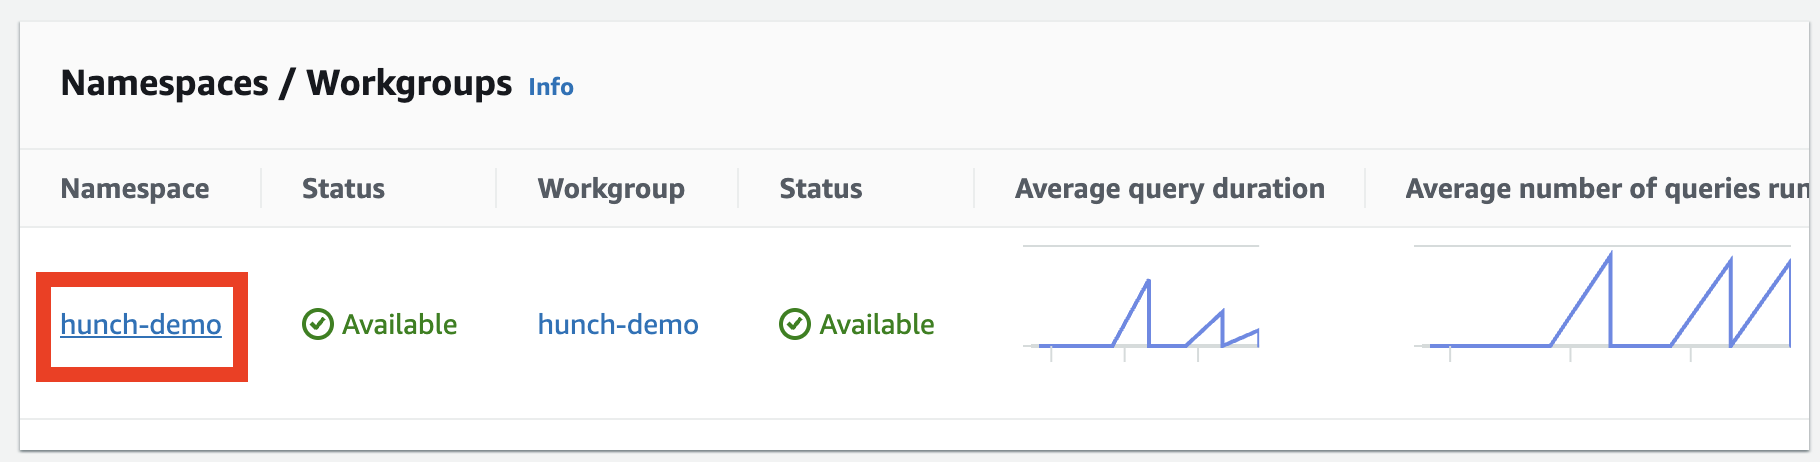
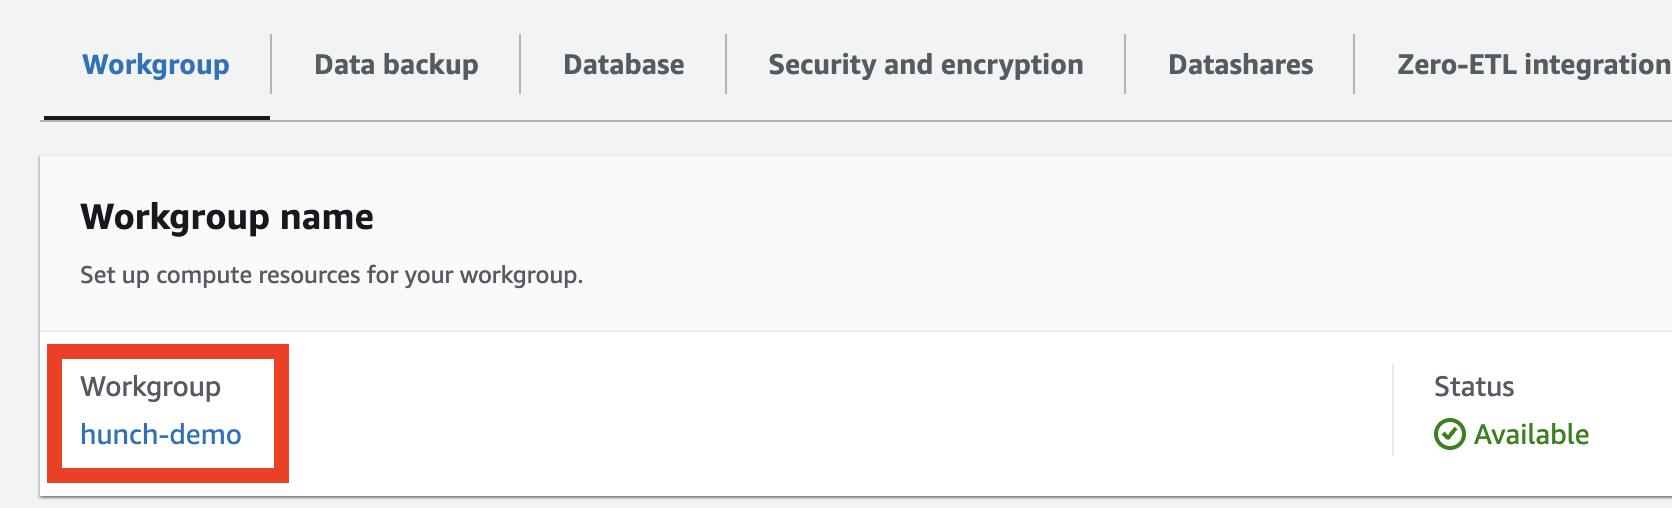
- Go to Workgroups and click on your desired workgroup
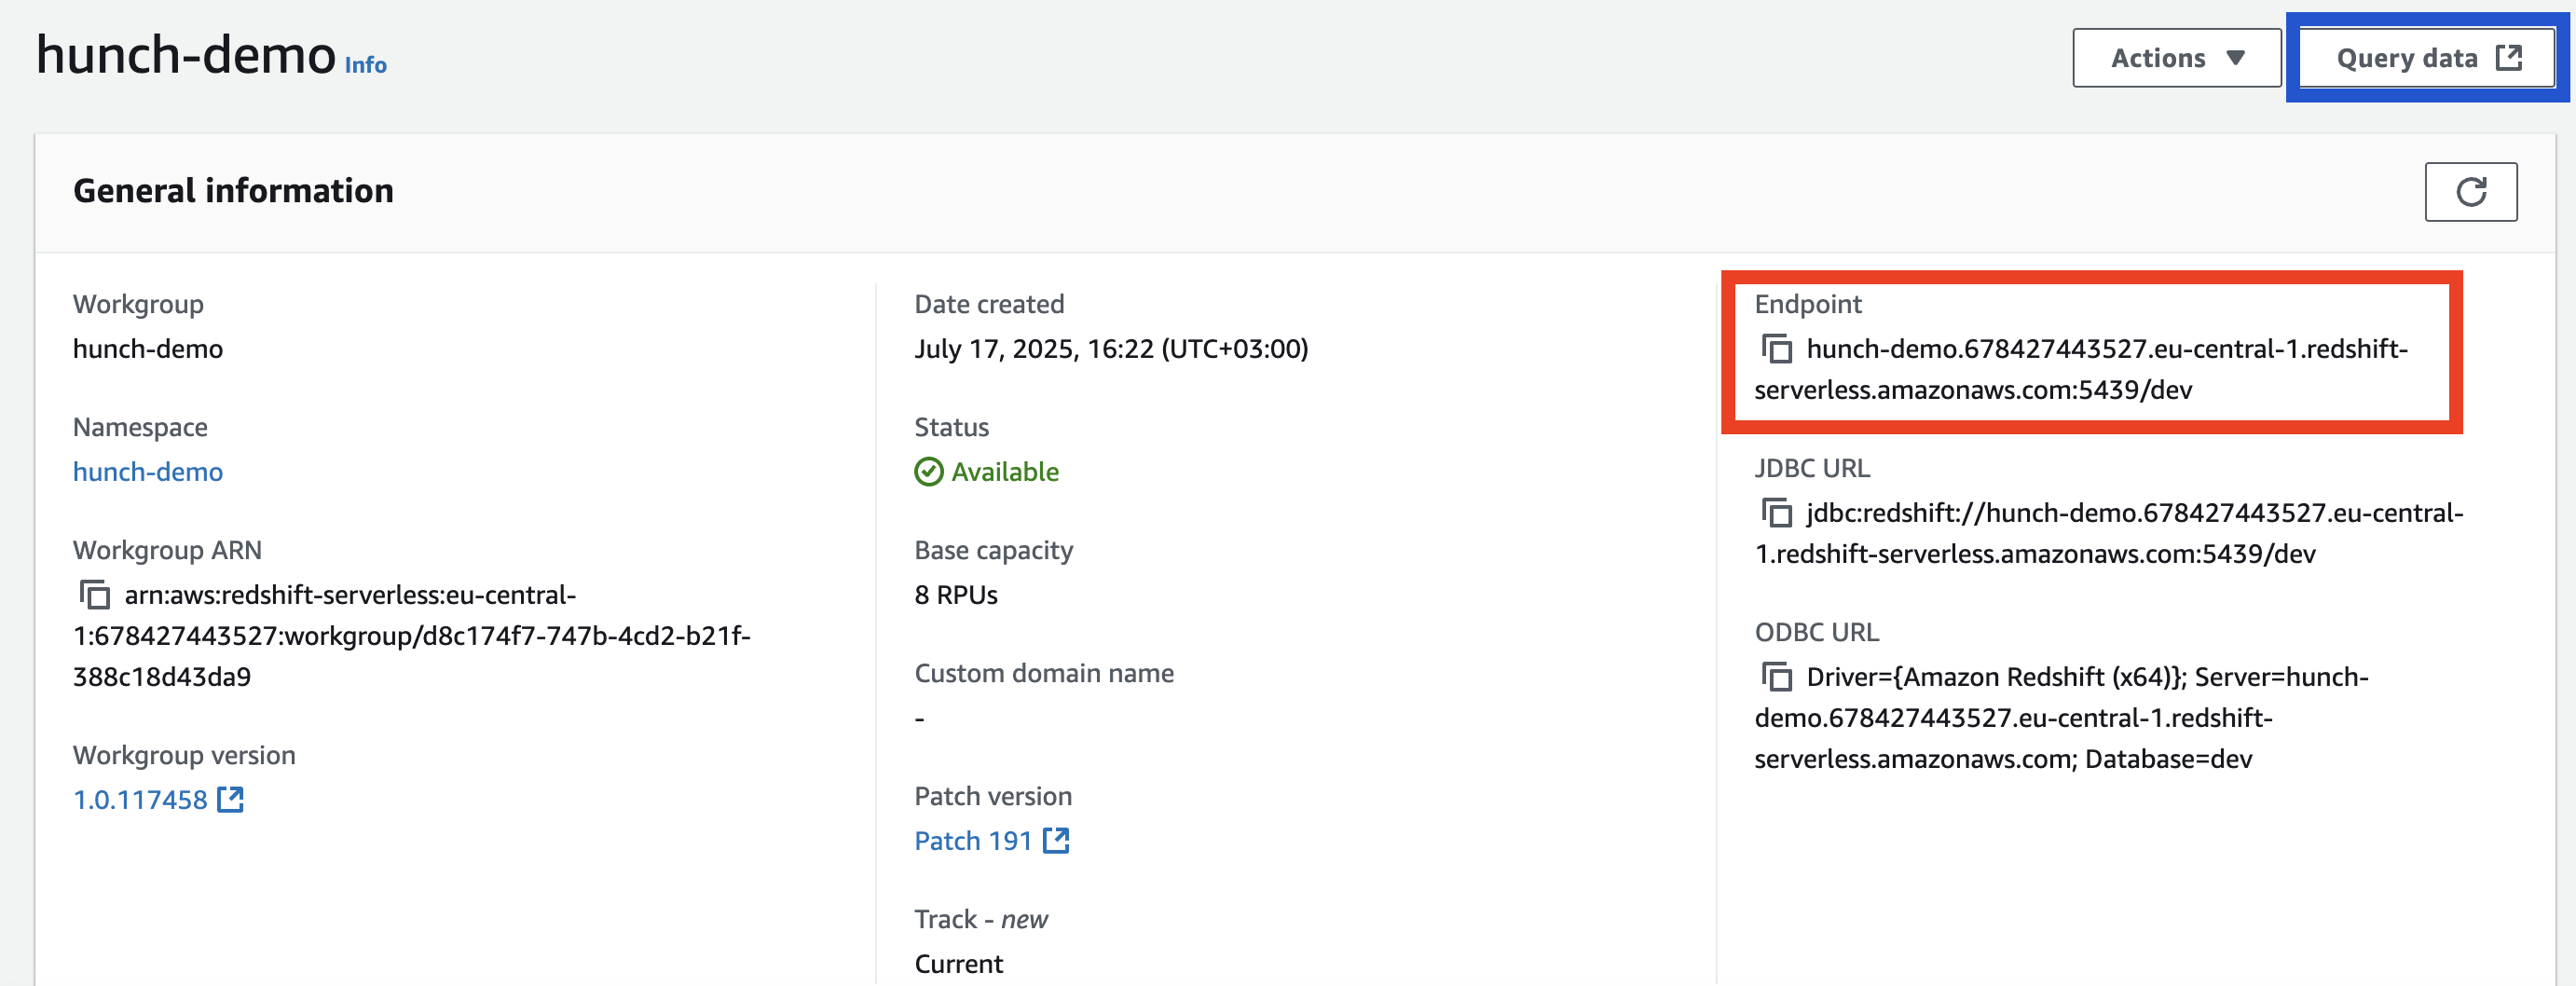
- In the General Information section, note down the Endpoint (highlighted in red), then click “Query data” (highlighted in blue) to access the query editor
Step 2: Create Read-Only User
Execute the following SQL commands to create a read-only user for Hunch:Important: Change the password
'Password123!' to a secure password of
your choice before running these commands.Step 3: Verify Permissions (Optional)
Run this query to verify that the user has the correct permissions:Security Best Practice: Use a strong password for your readonly_user and
store it securely. Consider using AWS Secrets Manager for password
management in production environments.
Step 4: Gather Connection Details
You’ll need the following information to connect to Hunch. Note that the endpoint you gathered from Step 1 contains the host URL, but may also include the port and database information.Important: The endpoint might look like
your-cluster.abc123.us-east-1.redshift.amazonaws.com:5439/your_database.
You need to separate this into individual components for the Hunch
configuration form.- Host: The URL portion of your endpoint (everything before the colon
:) - e.g.,your-cluster.abc123.us-east-1.redshift.amazonaws.com - Port: Usually
5439(default for Redshift) - extract this from after the colon in your endpoint, or use the default - Database: Your desired database name - you can use the same database from the endpoint or choose a different one from the same cluster
- Username:
readonly_user(or the username you created) - Password: The password you set for the user
2️⃣ Connect to Hunch Platform
Now let’s connect your Redshift database to Hunch:Step 1: Navigate to Hunch
- Go to app.hunch.dev
- Click on the Hunch logo at the top-left corner
- Select “Connect your data”

Step 2: Configure Redshift Integration
- Find the Amazon Redshift service and click “Configure” next to it
- Fill in the connection details as shown in the form below. The required parameters are marked in the screenshot:
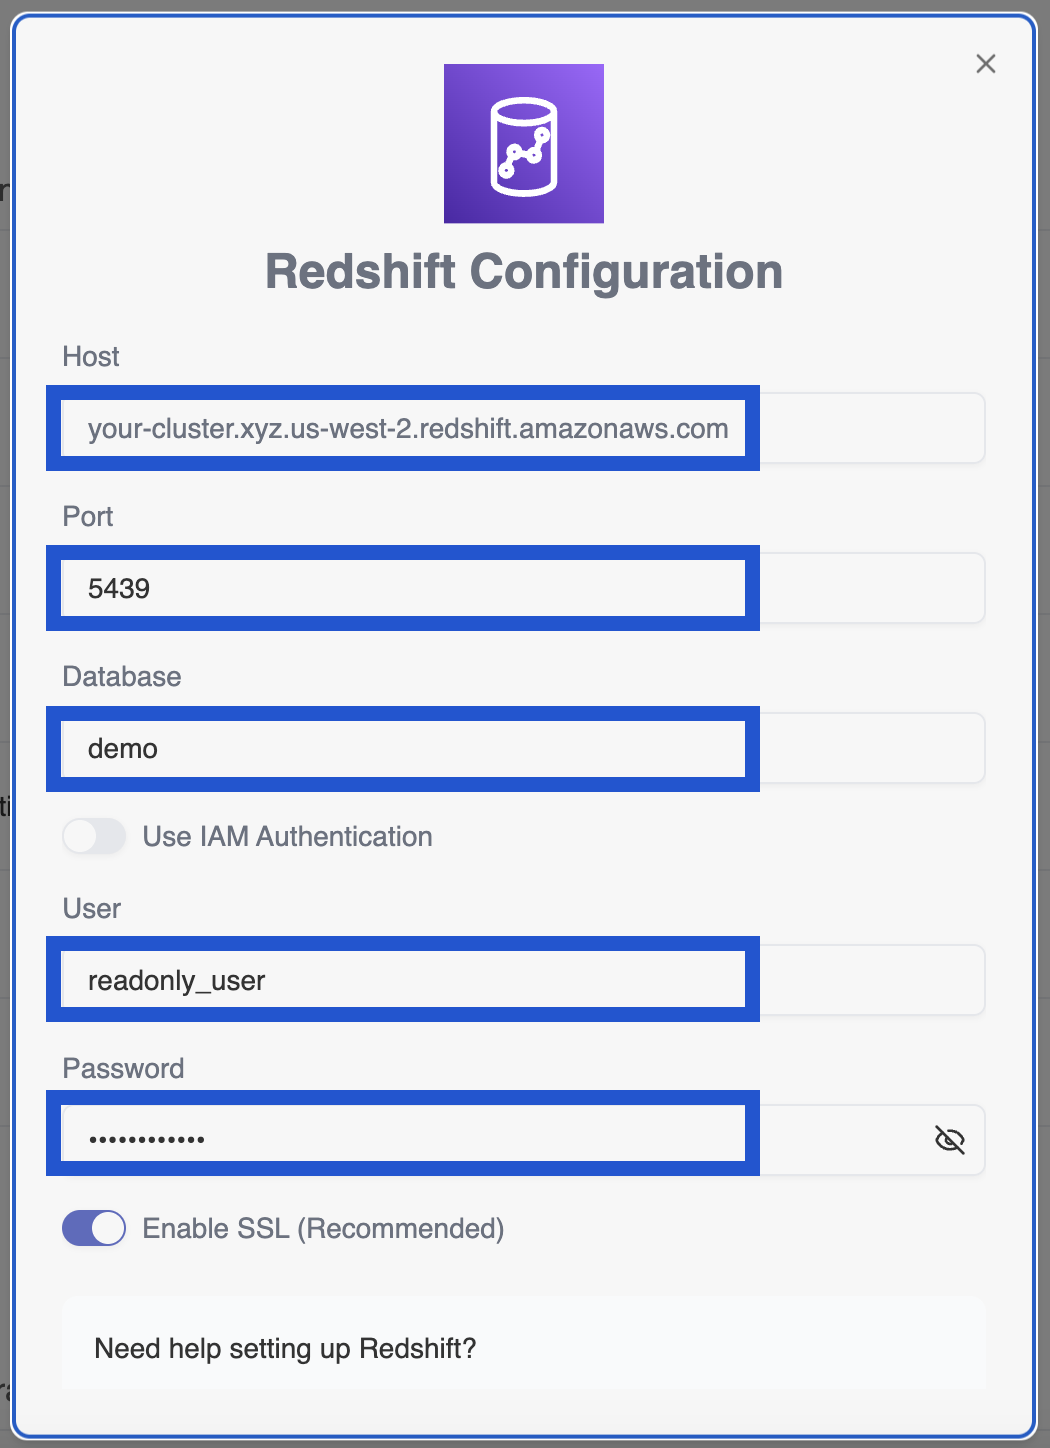
Alternative Authentication: You can also choose to connect with an IAM
user and password that has the right permissions to select and read from the
Redshift database. However, this is less recommended since it’s easier to
give the exact amount of permissions to the created readonly, database-only
user.
Step 3: Test and Save Connection
- Scroll down and click “Test Connection” at the bottom of the form
- Wait for the connection test to complete successfully - you’ll see a green tick appear
- Once the green tick appears confirming the connection is successful, click “Submit” to save your integration
🎉 You’re All Set!
That’s it! Your Amazon Redshift database is now connected to Hunch. You can now mention your Redshift database in your queries and Hunch will be able to access your data.🚨 Troubleshooting
Common Issues
Connection Test Failed- Double-check that you copied the host, port, database name, username, and password correctly
- Ensure your Redshift cluster is running and accessible
- Verify that your security groups allow inbound connections on port 5439 (or your custom port)
- Check that your VPC and subnet configurations allow external connections if needed
- Verify that the readonly_user was created successfully by logging in with those credentials
- Ensure the password meets Redshift’s password requirements
- Check that the user has not been accidentally dropped or disabled
- Make sure the readonly_user has SELECT permissions on the schemas and tables you want to query
- Run the verification query from Step 3 to check permissions
- Ensure you granted permissions on the correct schemas (not just ‘public’ if your data is in other schemas)
- Verify your Redshift cluster’s publicly accessible setting if connecting from outside AWS
- Check VPC security groups and Network ACLs
- Ensure the cluster endpoint is correct and accessible
📞 Need Help?
If you encounter any issues during setup, our support team is here to help:- Email: support@hunch.dev
- Slack Community: Join our Slack